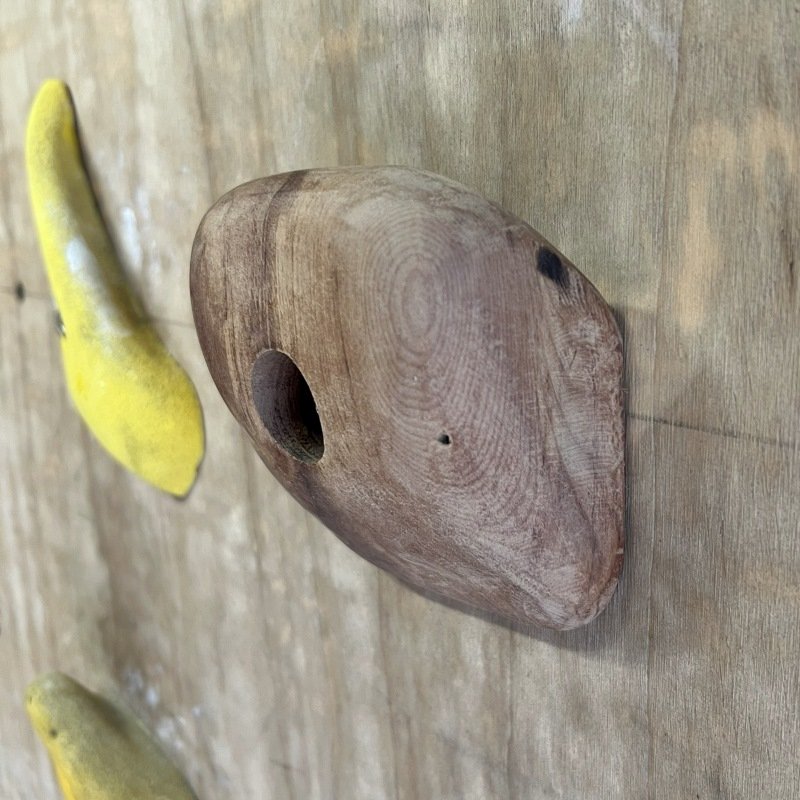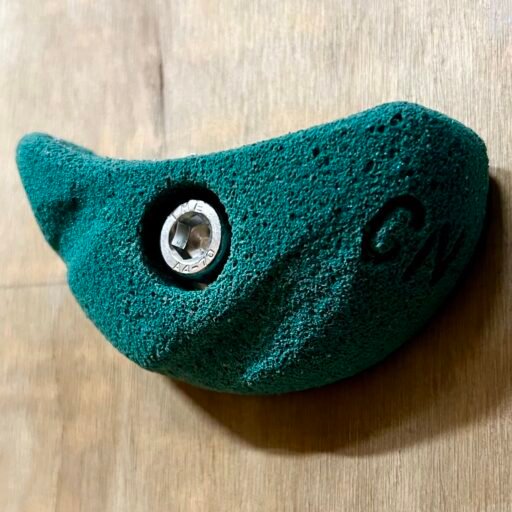
The process detailed below can be used to make any of the holds on the Designs for Wooden Holds page or for your own designs. If you haven’t made a wooden hold before select a simple design like the Simple Jug and have a go.
1) Cut a Block of Wood
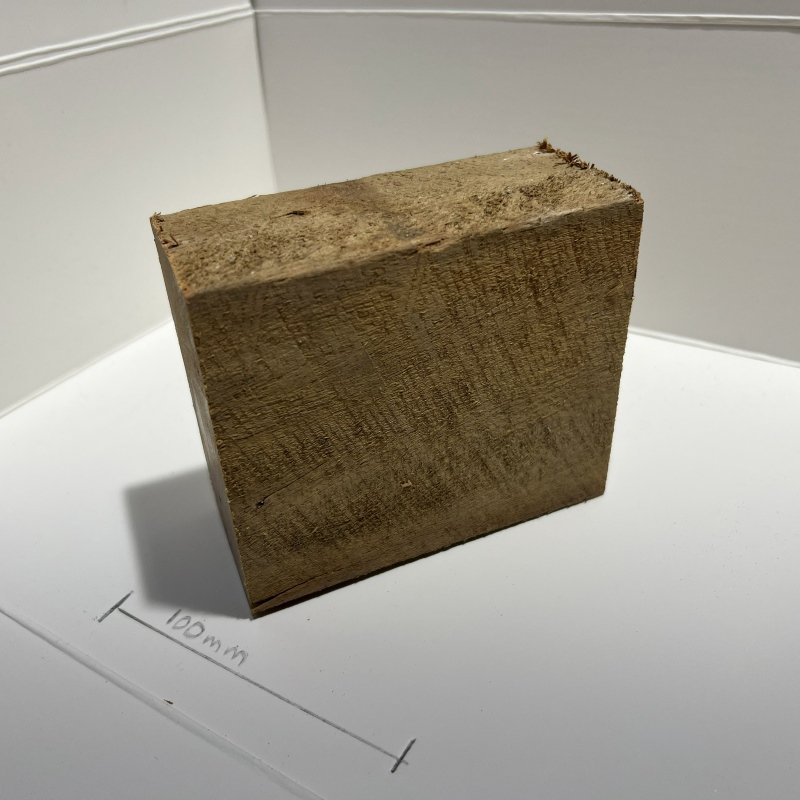
Cut a block from the wood you have chosen to make your hold from. The block should be roughly the size of the hold you are going to make.
The grain of the wood should run parallel to the wall when the finished hold is attached. If you are cutting the block from a plank of wood the grain will typically run the length of the plank.
See Selecting Wood for Holds for help selecting the right type of wood
2) Make sure the back is flat
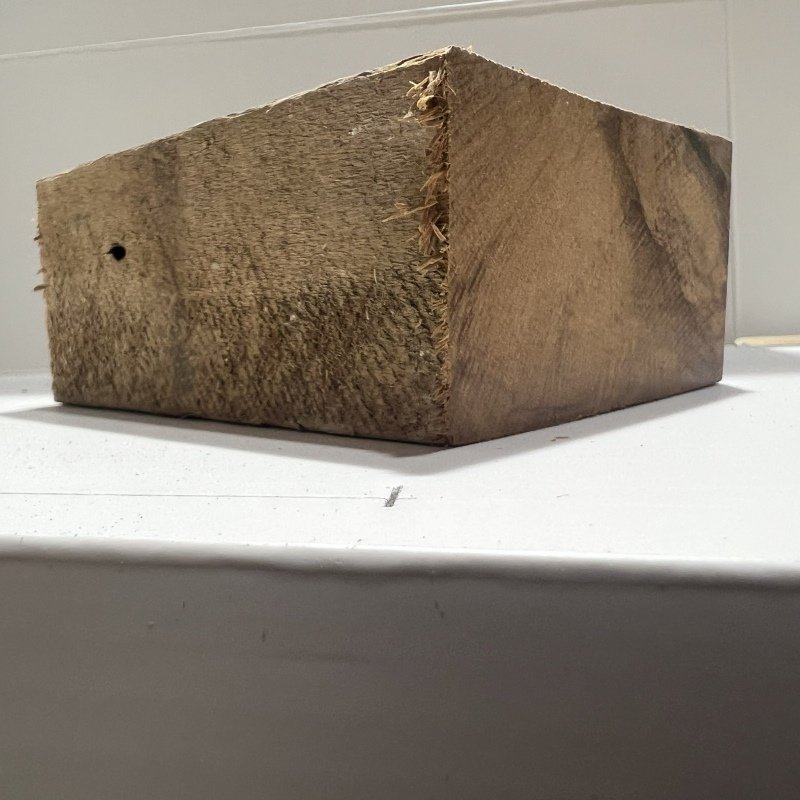
If the back (the side that is going to be attached to the wall) isn’t already flat either cut and / or sand it to a flat surface.
The surface doesn’t need to be smooth, just flat. In practice some roughness on the back of the hold will help prevent it from spinning once attached.
3) Sketch the hold outline
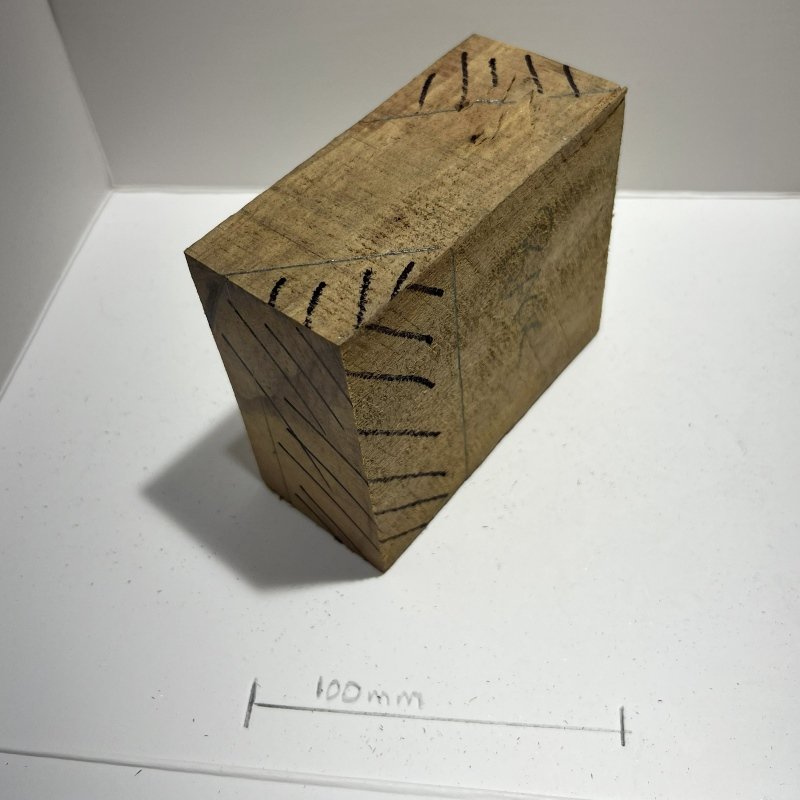
Using a pencil roughly draw the outline of the hold that you are going to make on the block and/or mark out material to be removed. This will help you with where to place the attachment hole(s) and where to make the initial cuts to the block.
4) Drill attachment Holes
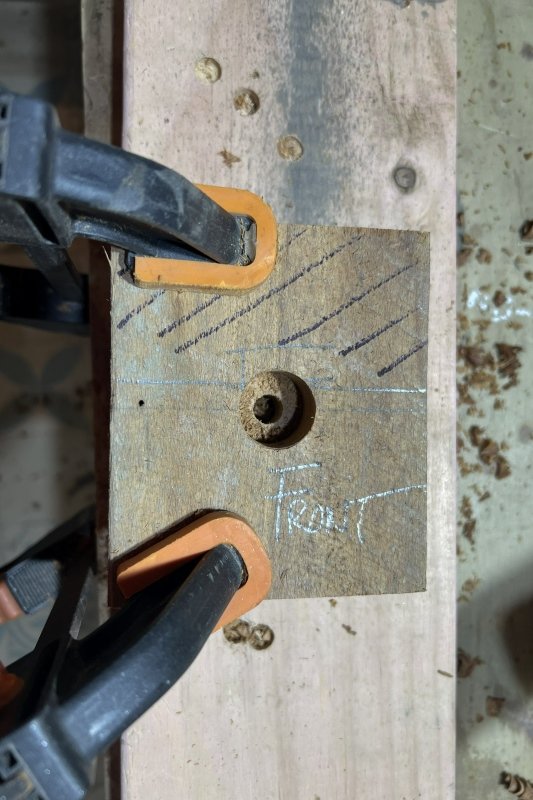
While the hole can be drilled at any time it is often easier to clamp the wood while it is still in a block shape. If you are hand drilling the hole with a hand held drill this also makes it a lot easier to judge if you are drilling the hole perpendicular to back of the hold.
If you have chosen to use a Cap Head bolt and washer to attach the hold:
- If you have a counterbore skip the next step and start by drilling the hole (see Tools for Wooden Holds).
- If you are using a Forstner bit to create the recess for the bolt head select a bit where the diameter is slightly larger than the washer and create a recess roughly 1 cm deep. (If you drill the hole first you will find it harder to centre the Forstner bit over the drilled hole)
- Drill out the bolt hole all the way through (11mm for an M10 bolt)
- Either use a counterbore or Forstner bit to create or deepen the recess for the bolt head and washer to the required depth. When finished:
- The bolt head shouldn’t interfere with the hold
- When you place your bolt and washer in the hole it comes out perpendicular on the back of the hold and protrudes far enough to fully go into the t-nut. i.e. at least the thickness of plywood used for the climbing wall.
- The depth between the back of the hold and the recess should be such that the hold is strong enough not to break under load (the length of the bolts you are using will influence this).
If you are using screws or a bolt with a countersunk head:
- Select a drill bit that just lets the screw / bolt pass through (11mm hole for an M10 Bolt)
- Drill the hole all the way through the hold
- Countersink the hole so that the bolt / screw head doesn’t protrude
- Check that bolt / screw comes out perpendicular on the underside of the block and that it protrudes far enough to fully go into the t-nut / deep enough into the wall to hold
5) Saw Cut the Rough Shape
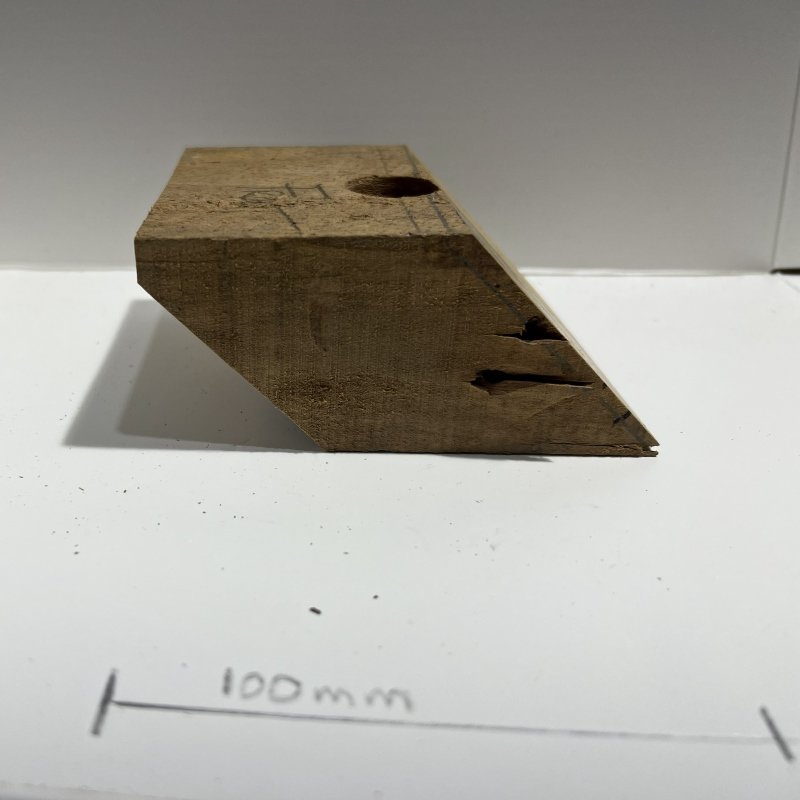
Using your saw make cuts to get the block as close as you can to the shape of the hold you have sketched out. This step should be saving you time and effort for the next step.
6) Bulk wood removal
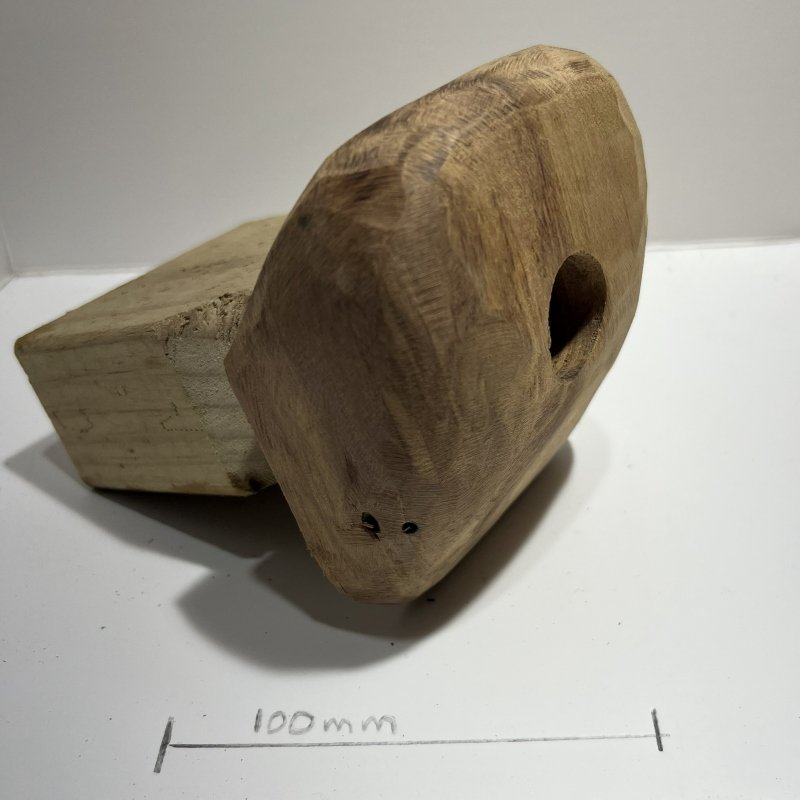
Further shape the hold by bulk removing wood. A rasp works fine but an angle grinder with a flap disk is a quick and efficient way to do this. See the Tools for Wooden Holds page for further details.
Use the tool to “scoop” out wood as well as flatten and “round” the surface.
This step creates lots of sawdust so make sure you are in a suitable area and wearing suitable clothes and protection. Setting up outside is a good option if you can.
As it starts to take shape stop and “test” the hold with your hands to refine the shape as you go. At the end of this step your block of wood is now looking pretty like a hold!
7) Sanding
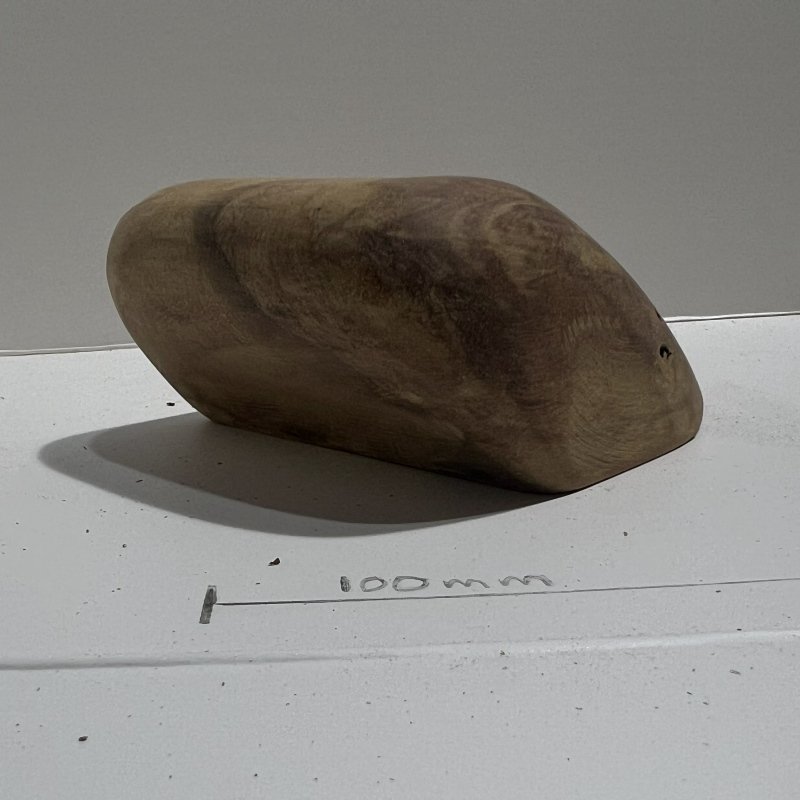
Sand the hold to take it’s final shape and the desired finish. Start with a course grit (40) and then move to a finer grits. 180 grit makes a nice finish for a climbing hold.
Consider leaving key contact areas of the hold a bit rougher, particularly if it’s a sloper.
A random orbital sander will do a good job of this step. You will still likely need to hand sand any intricate parts or corners of the hold.
8) Set Screw Hole (If required)
If you have identified the need for a set screw so that the hold can’t spin then add a set screw hole with a countersink drill bit or a normal drill bit followed by creating the countersink with a countersink bit.
Make sure the position and depth of the screw hole allow the screw to protrude out the back of the hold far enough to properly hold.
You can use a drill bit with a diameter just a bit larger than the screw head to create the countersink and this also allows you to extend the amount the selected crew protrudes out the back of the hold.
9) Finishing (Optional)
Unfinished timber holds work fine and retains some natural friction so this step is optional.
You can varnish or oil your holds to make then look great or you can use textured paint on some or all of the hold to give you a “dual tex” finish. It’s recommended you test the hold first by climbing on it a bit to check you are happy with the shape before doing this.
10) Test Your Hold
Your hold is now ready to climb on. Attach your hold to your wall and test it won’t break or spin by putting weight on it.
If you aren’t happy with the shape of it just go back to step 6 or 7 and refine the hold further.
You now have a finished wooden climbing hold!
Take you learning from going through the process and apply it to further designs on the Designs for Wooden Holds page.