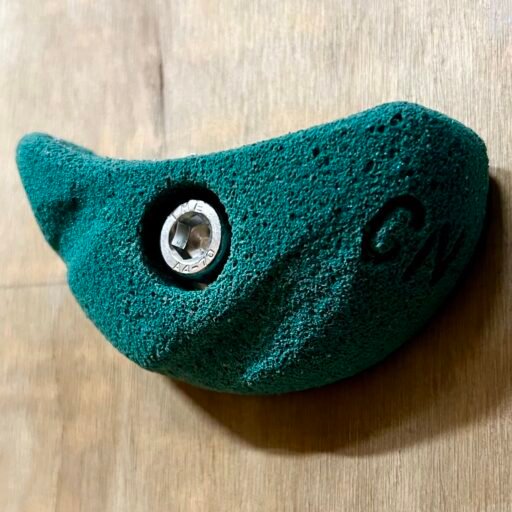
The process below sets out how you make Polyurethane, often referred to as PU, Climbing holds. The process is effectively the same process used by commercial hold manufacturers. Once you have moulds (steps 1 to 6) the remaining steps can be repeated to produce another hold from the same mould.
1) Cut a foam Block
Using a Stanley knife Cut a block of foam which is slightly larger than the hold you plan to make.
You can use the manufactured side of the block as the back of the hold as it’s already flat or you can sand a hand cut side flat with some sandpaper.
See the Materials for Polyurethane holds for help in selecting and sourcing the foam.
2) Sketch Out the Hold
This step is optional but can be helpful. Use soft tip pen to draw the shape / where you plan to remove material onto the foam block.
See the Designing Climbing Holds page for help when think about what the hold is you are designing.
See Designs for Polyurethane Holds for ideas on master hold shapes you can copy.
3) Carve and sand the master pattern
Trim to the general hold shape you have in mind using a Stanely knife and the pen marks from step 2 as guidelines. You can rub the foam with your finger (if using a softer foam) as well as sanding the foam with sandpaper by hand to refine the shape of the master pattern.
Test the shape as you go by holding it as you intend it to be climbed on to help guide your shaping. Just be careful not to grip it too hard as it will squash the foam.
Once you have the desired shape of your hold, either rinse it in water or blow the foam dust off.
4) Add attachment Holes
Depending on how you plan to attach your hold to the wall you will need to create bolt holes and / or screw holes. Before making the hole(s) consider their position relative to the hold and the wall contact area on the back of the hold. The hole should have enough material around it so that attachment is strong and at the back it should exit into the flat contact area.
With a soft foam these can be done using the required bits by hand i.e. without the drill itself.
For cap head bolts:
- Twist the drill bit (11mm for M10 bolts) with your fingers to drill the hole through the master.
- If you have a counterbore use this otherwise use a Forstner bit whose diameter is slightly larger than the washer that you plan to use.
- Twist the bit with your fingers to create the recess centered over the bolt hole. When finished:
- The bolt head shouldn’t interfere with the hold
- When you place your bolt and washer in the hole it comes out perpendicular on the back of the hold and protrudes far enough to fully go into the t-nut. i.e. the thickness of plywood used for the climbing wall.
- The depth between the back of the hold and the recess should be such that it’s strong enough so as not to break under load (your length of bolt will influence this.
- Twist the bit with your fingers to create the recess centered over the bolt hole. When finished:
- Either rinse it in water or blow the foam dust of.
If you are using screws or a countersunk head bolt to attach the hold or have included set screws in your design:
- Select a suitable sized drill bit (11mm hole for an M10 Bolt)
- Drill the hole all the way through ensuring it is perpendicular to the back of the hold.
- Countersink the hole so that the screw or bolt head won’t protrude from the surface of the hold.
- Check that bolt / screw comes out perpendicular on the underside of the block and that it protrudes far enough to fully go into the t-nut / deep enough into the wall to hold
5) Create a Mould Box
You can buy adjustable mould boxes, but it is easy and cheap to make your own.
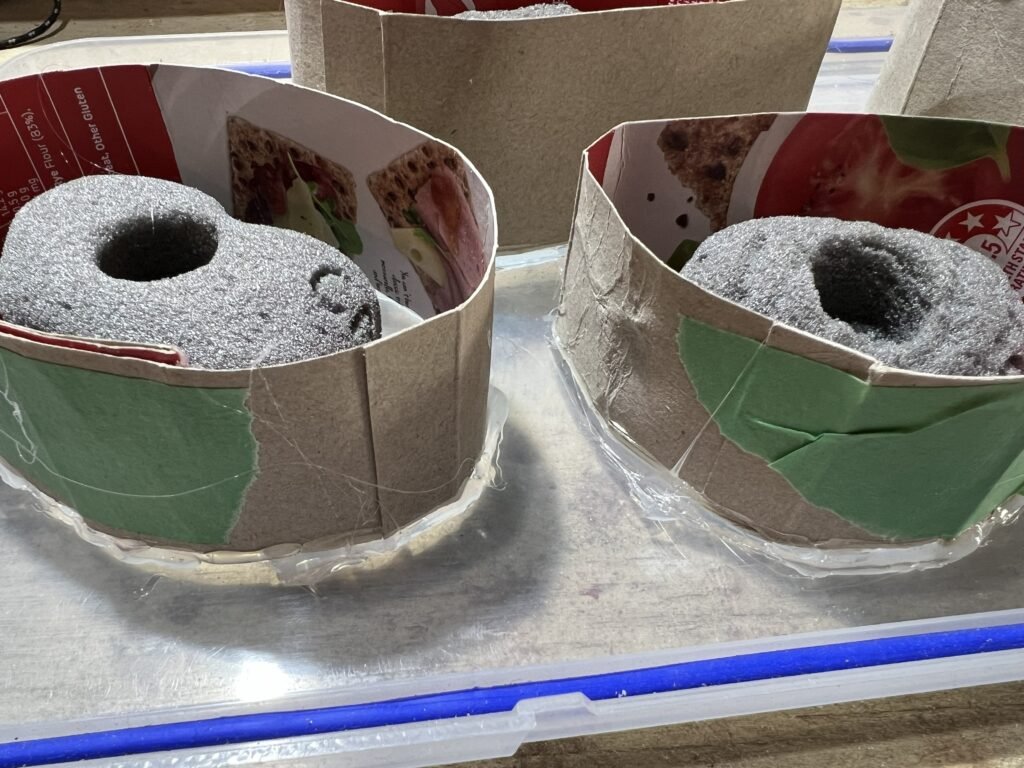
Attach the back of the master to a flat nonporous surface. The master needs to stay stationary and not float up when you pour the silicon. A hot glue gun and the lid of a Tupperware box work well.
Create a mould wall around the hold. Cutting a strip of cardboard from a laminated cardboard box and then using tape to create a ring with the laminated side facing in works well. Check your silicon instructions for how thick the walls of the mould need to be. Try and leave as little extra space as possible as the silicon is the most expensive part of the process. Typically 1 to 2 cms between the pattern and the mould is sufficient to let the mould hold its shape when the resin is poured.
Use hot glue to attach the wall to the non-porous surface and to prevent the mould box from leaking silicon.
6) Pour the Silicon
According to the manufacturers instructions mix the two parts of the silicon.
Many manufacturers instructions provide both a volume and a weight ratio. Using scales and by weight can be more accurate for small amounts. It’s important to note that a 1:1 ratio by volume isn’t a 1:1 ratio by weight.
Make sure you mix the two parts thoroughly, try and avoid too many bubbles and be aware of the working time you have available.
Pour the silicon into the mould and make sure it gets in all the cavities. Any small air bubbles should rise up
Leave to set – the silicon in the photos set in 30 minutes
The Materials for Polyurethane holds page will help you select a suitable silicon.
7) Prepare the mould
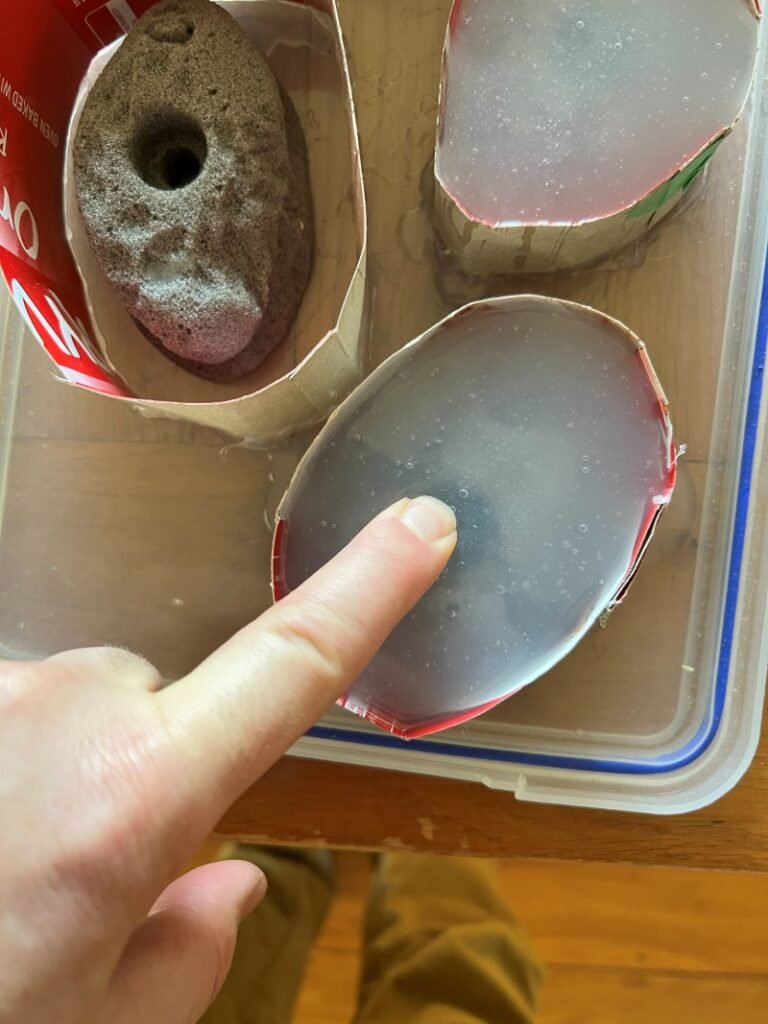
Remove Mold Box, the mould from the non-porous plastic surface and then remove the foam master from inside the mould. Don’t worry about breaking the foam master as you will not need it again.
Trim edges of the mould with a sharp knife or scissors and then wash out any foam dust that has been left on the silicon.
Optionally if you want to minimise waste resin you can measure the amount of water it takes to fill the mould to determine the volume of resin that you will require for that hold.
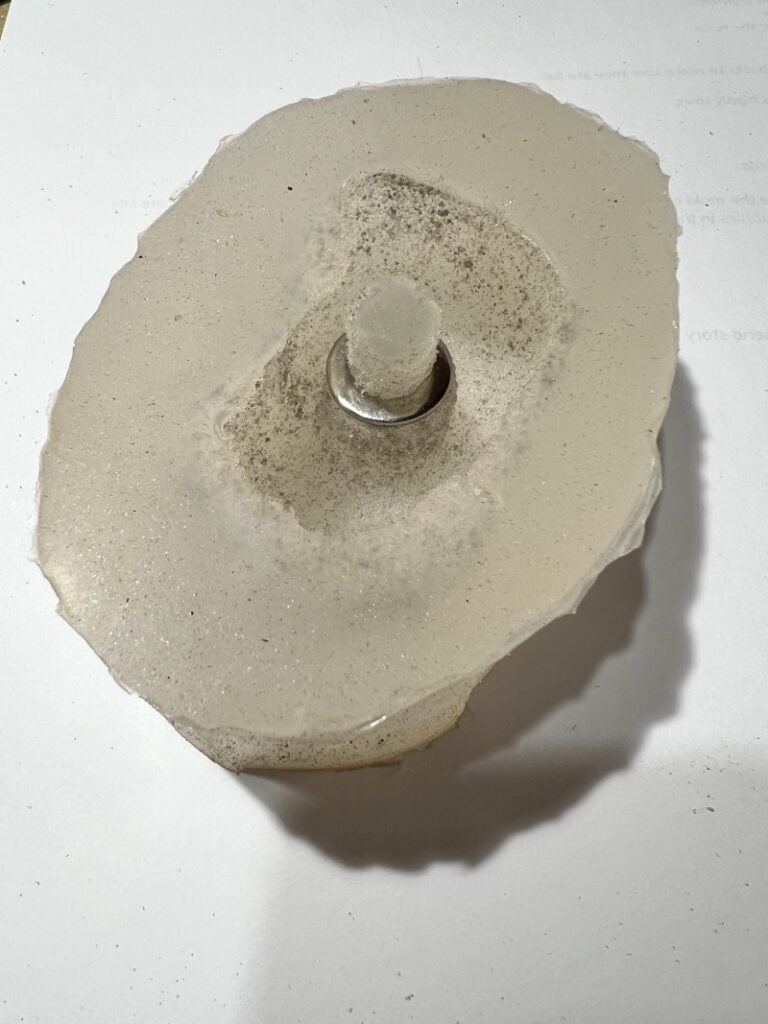
If you want the washers to be set into the hold add them at this stage by sliding them down the part of the mould that has come out of the attachment hole and make sure they sit flat.
The photos show a mould per hold. You can do two or more holds in the same mould and this can help reduce the total amount of silicon required.
8) Mix and pour the Resin
Decide how much resin to mix up. Smaller batches have more wastage. If you have measured the amount of resin required for a mould in step 6 then for a cast of less than three holds add approx. 10% to the volume you will mix up. You can always have some small extra moulds on standby if there is resin left over.
Resins have a short working time so make sure you know how long you have and have organised everything you need before you mix the resin so that you can work efficiently.
Mix up the two parts in the specified amounts of the resin well. As with the silicon for small amounts using scales to determine amounts can be more accurate.
If you are going to colour your hold add the dye and make sure not to use too much dye and that it is fully mixed in as it can affect how well the hold sets. The dye instructions should tell you how much. Using the scales is useful in determining the right amount as typically it is a relatively small amount required.
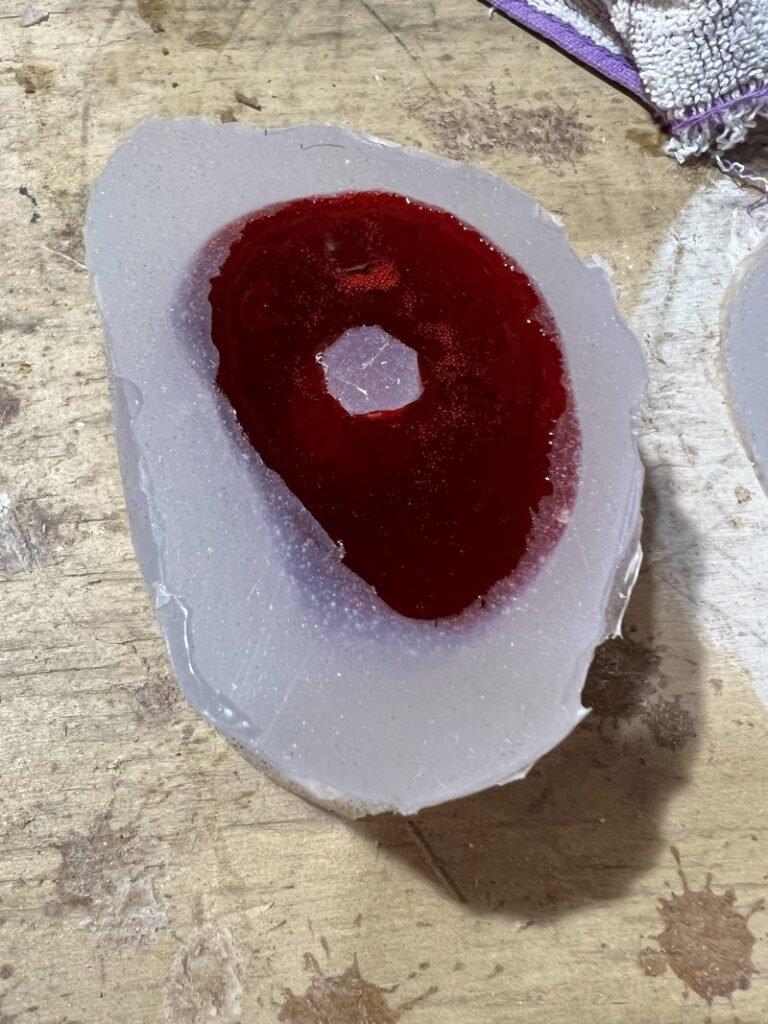
Pour the resin into the mould and leave it to set.
9) Remove the hold from the mould
Most resins set fast. The resin shown in the photos had fully set in 15 minutes
Once you are confident it has fully set peel the hold out of the mould.
10) Check the back is flat
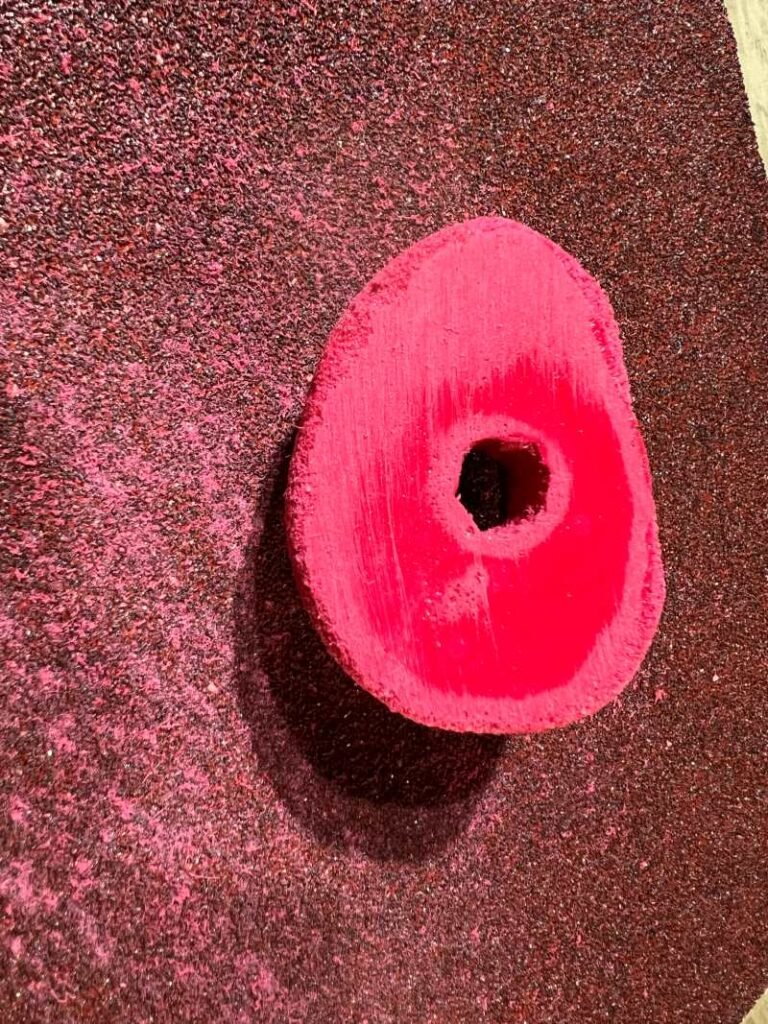
Check the back of the hold is flat – this is the top surface that you have poured. If it’s place a rough grit (40) sandpaper on a flat surface and run the back of the hold backwards and forwards a few times on it. It needs to be flat not smooth, a rough surface will help with preventing the hold from spining once attached.
11) Test your hold
Your hold is ready to climb on! Attach it to your climbing wall and test putting weight on it to ensure it doesn’t break or spin when used.
If it does spin you can drill and countersink a hold for a set screw is a suitable location on the hold.